
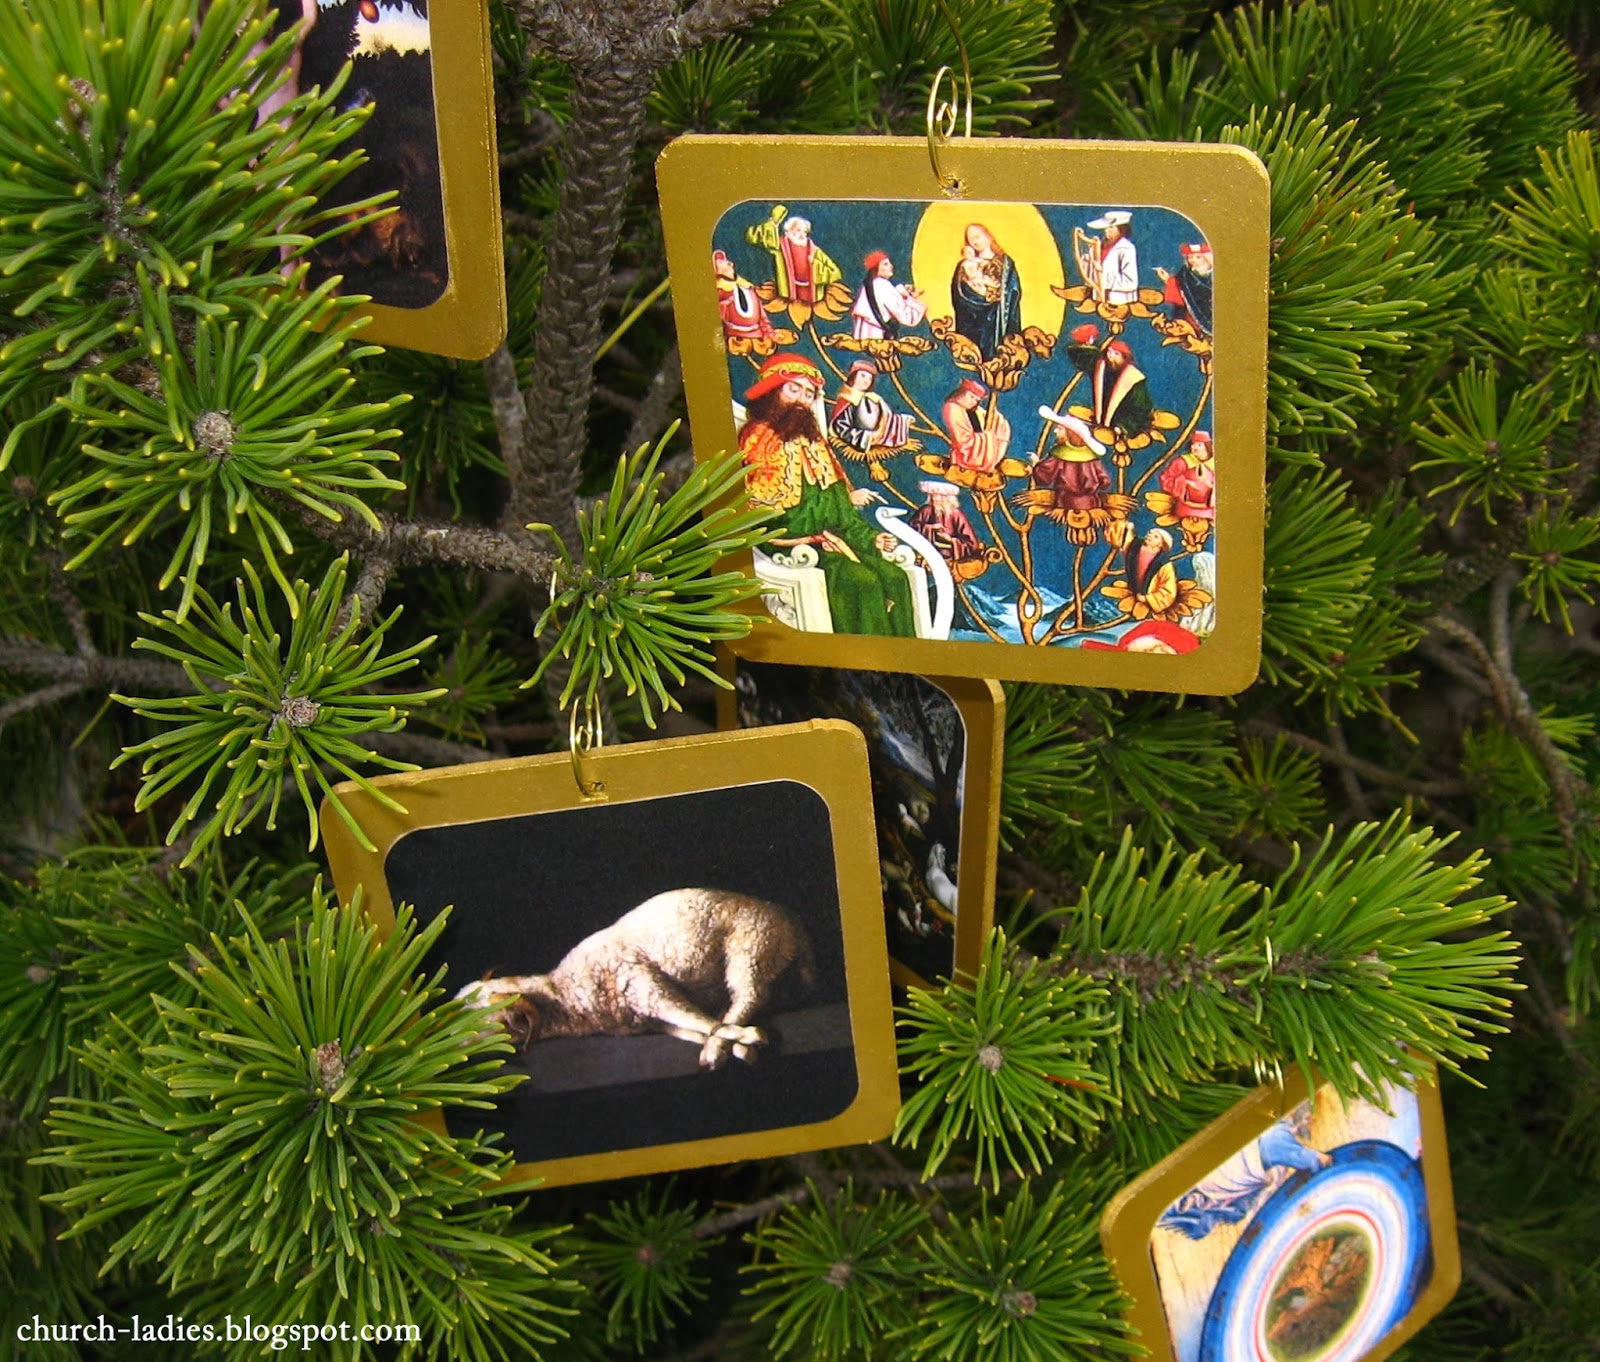
For those of you who are unfamiliar, the Jesse Tree consists of a daily reading from scripture, along with an ornament containing a symbol for each reading. The readings trace salvation history (the tree represents Jesus' family tree), beginning with creation and ending with the coming of the Messiah. For our version, Margaret Mary and I went hunting to find a piece of art for each day. We tried to represent a variety of styles and periods of art, so hopefully there is something here to inspire everyone. (If you ever need good sources of art for your own projects, I highly recommend starting with Wikipedia and the Web Gallery of Art. The wreaths on the back of the ornaments are courtesy the wonderful Graphics Fairy.)
These ornaments can be used in a variety of ways. At their simplest, they can be printed out and hung in a row on a garland or along your mantel. Hang a new one each day, or hang them all at once with the backs showing, then flip one so that a new piece of art shows every day. If you are short on space, get a 3" display easel, such as this one or this one, and display just that day's picture on it. If you are willing and able to set up your tree this weekend, they can be the ornaments for this season, and then the tree can be decorated in all its festive Christmas glory after the last of them has been read, with the Christmas ornaments either replacing or adding to the Advent ones.
Prayer
Each day, gather as a family to read the reading printed on the back. NRSV and New Jerusalem translations tend to be nice for reading aloud. Use a children's translation if that's better for your crowd, or even find a storybook version where you can. This is a good time to light your Advent wreath each night. You may wish to close with your family's usual nightly prayers, or some special prayers for Advent (a few ideas are here). If you own a copy of the Liturgy of the Hours (or Christian Prayer), pray the closing prayer for each day (or some or all of Vespers, if your children have the attention span).The ornaments are matched to days of Advent, rather than dates in December, so most years you will have some extra. You can choose whether to double up readings on some of the shorter days, or just skip some at the end. For example, this year, you could go straight from the Annunciation to the Nativity.
Using the PDFs
The ornaments are formatted to be 3.25" square. We've done our best to pick uncrowded, high-contrast pieces of art that shrink down to this size well, but I still recommend using the highest quality printing available to you. Our prints are made on a color laser printer. If your home printer isn't up to the job, a Kinkos-type place should be able to do it fairly cheaply.There are four files linked below: one designed for printing double-sided, two containing fronts and backs separately (in case you want to avoid paying the color rates for the black-and-white backs, or if you'd like to print the backs on off-white or colored paper), and a sheet containing just the readings and information, in case you want to make the ornaments single-sided.
The color pages have registration marks to help you cut them out neatly. The file with the ornament backs only has registration marks that should be useful whether you want to cut them into squares or circles (I used a Fiskars circle cutter for the job). Cutting the circles can be a bit tricky to get used to, so I left a blank one at the bottom of the ornament backs file to practice on.
If you want to pass them along to a friend (and please do!), we'd ask that you send them a link to this post, rather than copying the PDF file itself. If you would like to use them in a group setting or redistribute print/PDF versions, please email us to ask first. Thanks!
- Back-to-back ornaments (for double-sided printing)
- Ornament fronts (art pieces) only
- Ornament backs only
- List of readings
For laminated ornaments:


For wooden ornaments:


After drilling a hole near the top (you should have just shy of 3/8" margin at the top), we painted the borders and edges with two coats of gold acrylic paint. If you are cutting the backs in a circle, make sure to paint well into each corner on one side to cover everything that will show (cut a scrap piece to the same size and use it to check)

Print the art and label files separately on cardstock and cut them out. We used a round corner punch on the art pieces to better match the wood, and cut the backs out as circles. After the paint was dry, we attached the art and labels with spray glue, and sealed the ornaments with spray varnish. You could use Mod Podge in place of both.
We hope you enjoy, and if you come up with other creative ways to use the PDFs, please do pass them along!
3 comments:
These are the best!!! I am so excited. Thanks for these :)
These are just lovely! Thank you so much for sharing!
These are just beautiful. Thank you for all the work you put into these!
Post a Comment